This is a job that I have been meaning to do since buying the bench pillar drill. The drill has an adjustable table, which can be clamped securely to the column, but the problem is that if I wanted to swing the table to one side to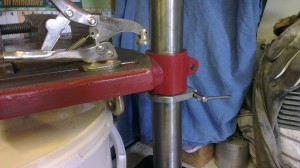 get a better position, or just to move it out of the way, the table would drop down, and It just became very annoying, so to avoid this I decided to make a column clamp which will fit below the table clamp, and hold the table in position.
Here are the various stages of making the clamp:
I haven’t got vast stock of material so I used a piece of galvanised flat bar 10mm thick, and sawed off a piece to make a 70mm square.
Measuring the column it was 48mm Diameter. First job was to mark out the centre of the plate and column diameter (the hole was already in the plate), then chain drill inside the diameter with a 4mm drill. This method is for those of us without a large boring machine or drill, it could be bored out on the lathe but this is just another way of doing things. Centre pop the holes first then if needed open out with a bigger drill. Always put a piece of scrap wood under the plate or you will drill into your vice!
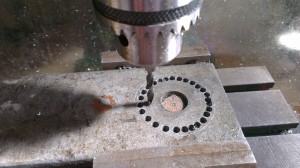
Then use a junior hacksaw to remove the centre
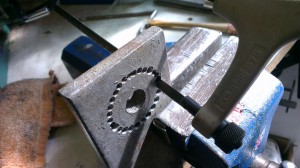
Clean up the centre with a file to remove high points, this will make it a lot easier on the lathe when boring out the hole to size later
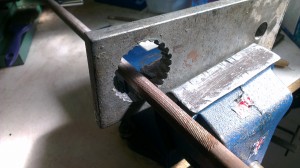
Over to the milling machine now and clamp the plate in the table vice to mill and clean up the hacksawed faces
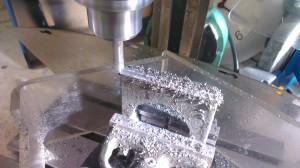
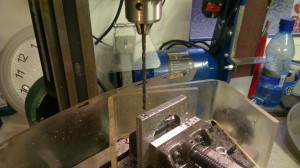
Now I need to drill through the plate for the clamp bolt, which will be a 6mm hexagon head machine screw. Using an edge finder, I can find the centre of the plate and accurately drill through first with a centre drill then a long series pilot drill, then a 6mm drill. The bolt is slightly smaller in diameter than 6mm, so this will give a snug fit.
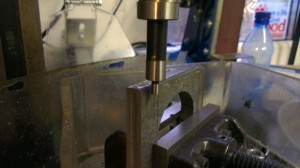
Drilling pilot hole
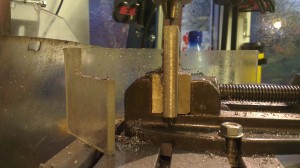
Now I need to mill a shoulder for the clamp bolt. This will allow the bolt to be held firm. The bolt will have a flat milled on one side.
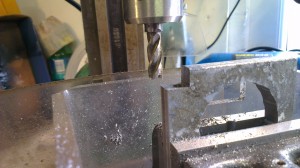
Milling the bolt head
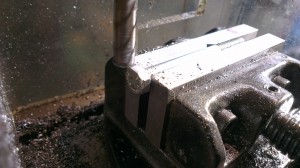
Fits quite nicely, now it will not turn when the clamp is tightened up.
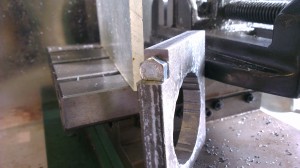
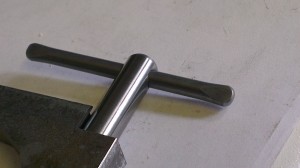
Another shoulder is milled for the clamp nut which is made from a piece of 12mm round bar, drilled and tapped 6mm thread. One end is radiused , then drilled for a short tommy bar, which is hammered flat on both ends to stop it sliding through the hole.
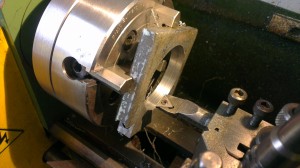
Time to machine the bore to size in the four jaw chuck, using a tipped boring tool. I also took the time to chamfer both sides, I don’t like sharp edges!
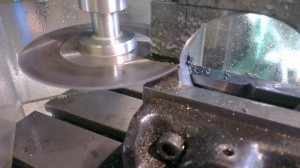
Back to the miller, and using a slitting saw, cut a slot into the clamp to enable the bolt to squeeze the clamp.
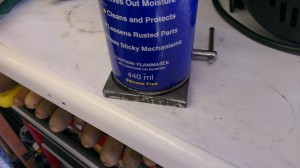
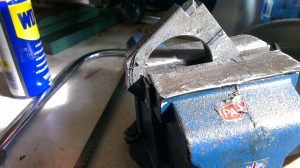
After a test fit, it’s time to tidy things up. Using a suitable sized tin, scribe a semi circle then hacksaw the bulk off then file to shape. Then the finished result looks pretty good and works a treat!
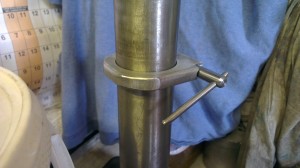
The clamp has made the pillar drill easier to use, if you look at more expensive models (mine was cheap!) they will come supplied with a secondary column clamp or a lockable height adjusting screw as standard.

