My first job with the dividing head was to make a small thumb screw for my Mini lathe cross slide dial. It did have a little allen grub screw to enable the dial to be locked and slackened for zeroing the dial, but this required an allen key, I would much rather have a thumb screw, so I made one. Here are some photos on the way I made it:
This is a 5mm machine screw I had been using instead of the allen grub screw, it worked OK but tended to trap my fingers in between the handle so it had to go!
I had a rough idea of the shape and size so I chose a piece of 10mm dia free cutting steel (from a ink jet printer) , then machined a 5mm dia portion for the thread, giving it a bit of an undercut and chamfer while I was at it.
Using a die and die stock supported square by the tail-stock, the thread was cut.
Using a radius form tool cut a pleasing radius on the end of the screw.
Ready to part off to the desired length
Parting off
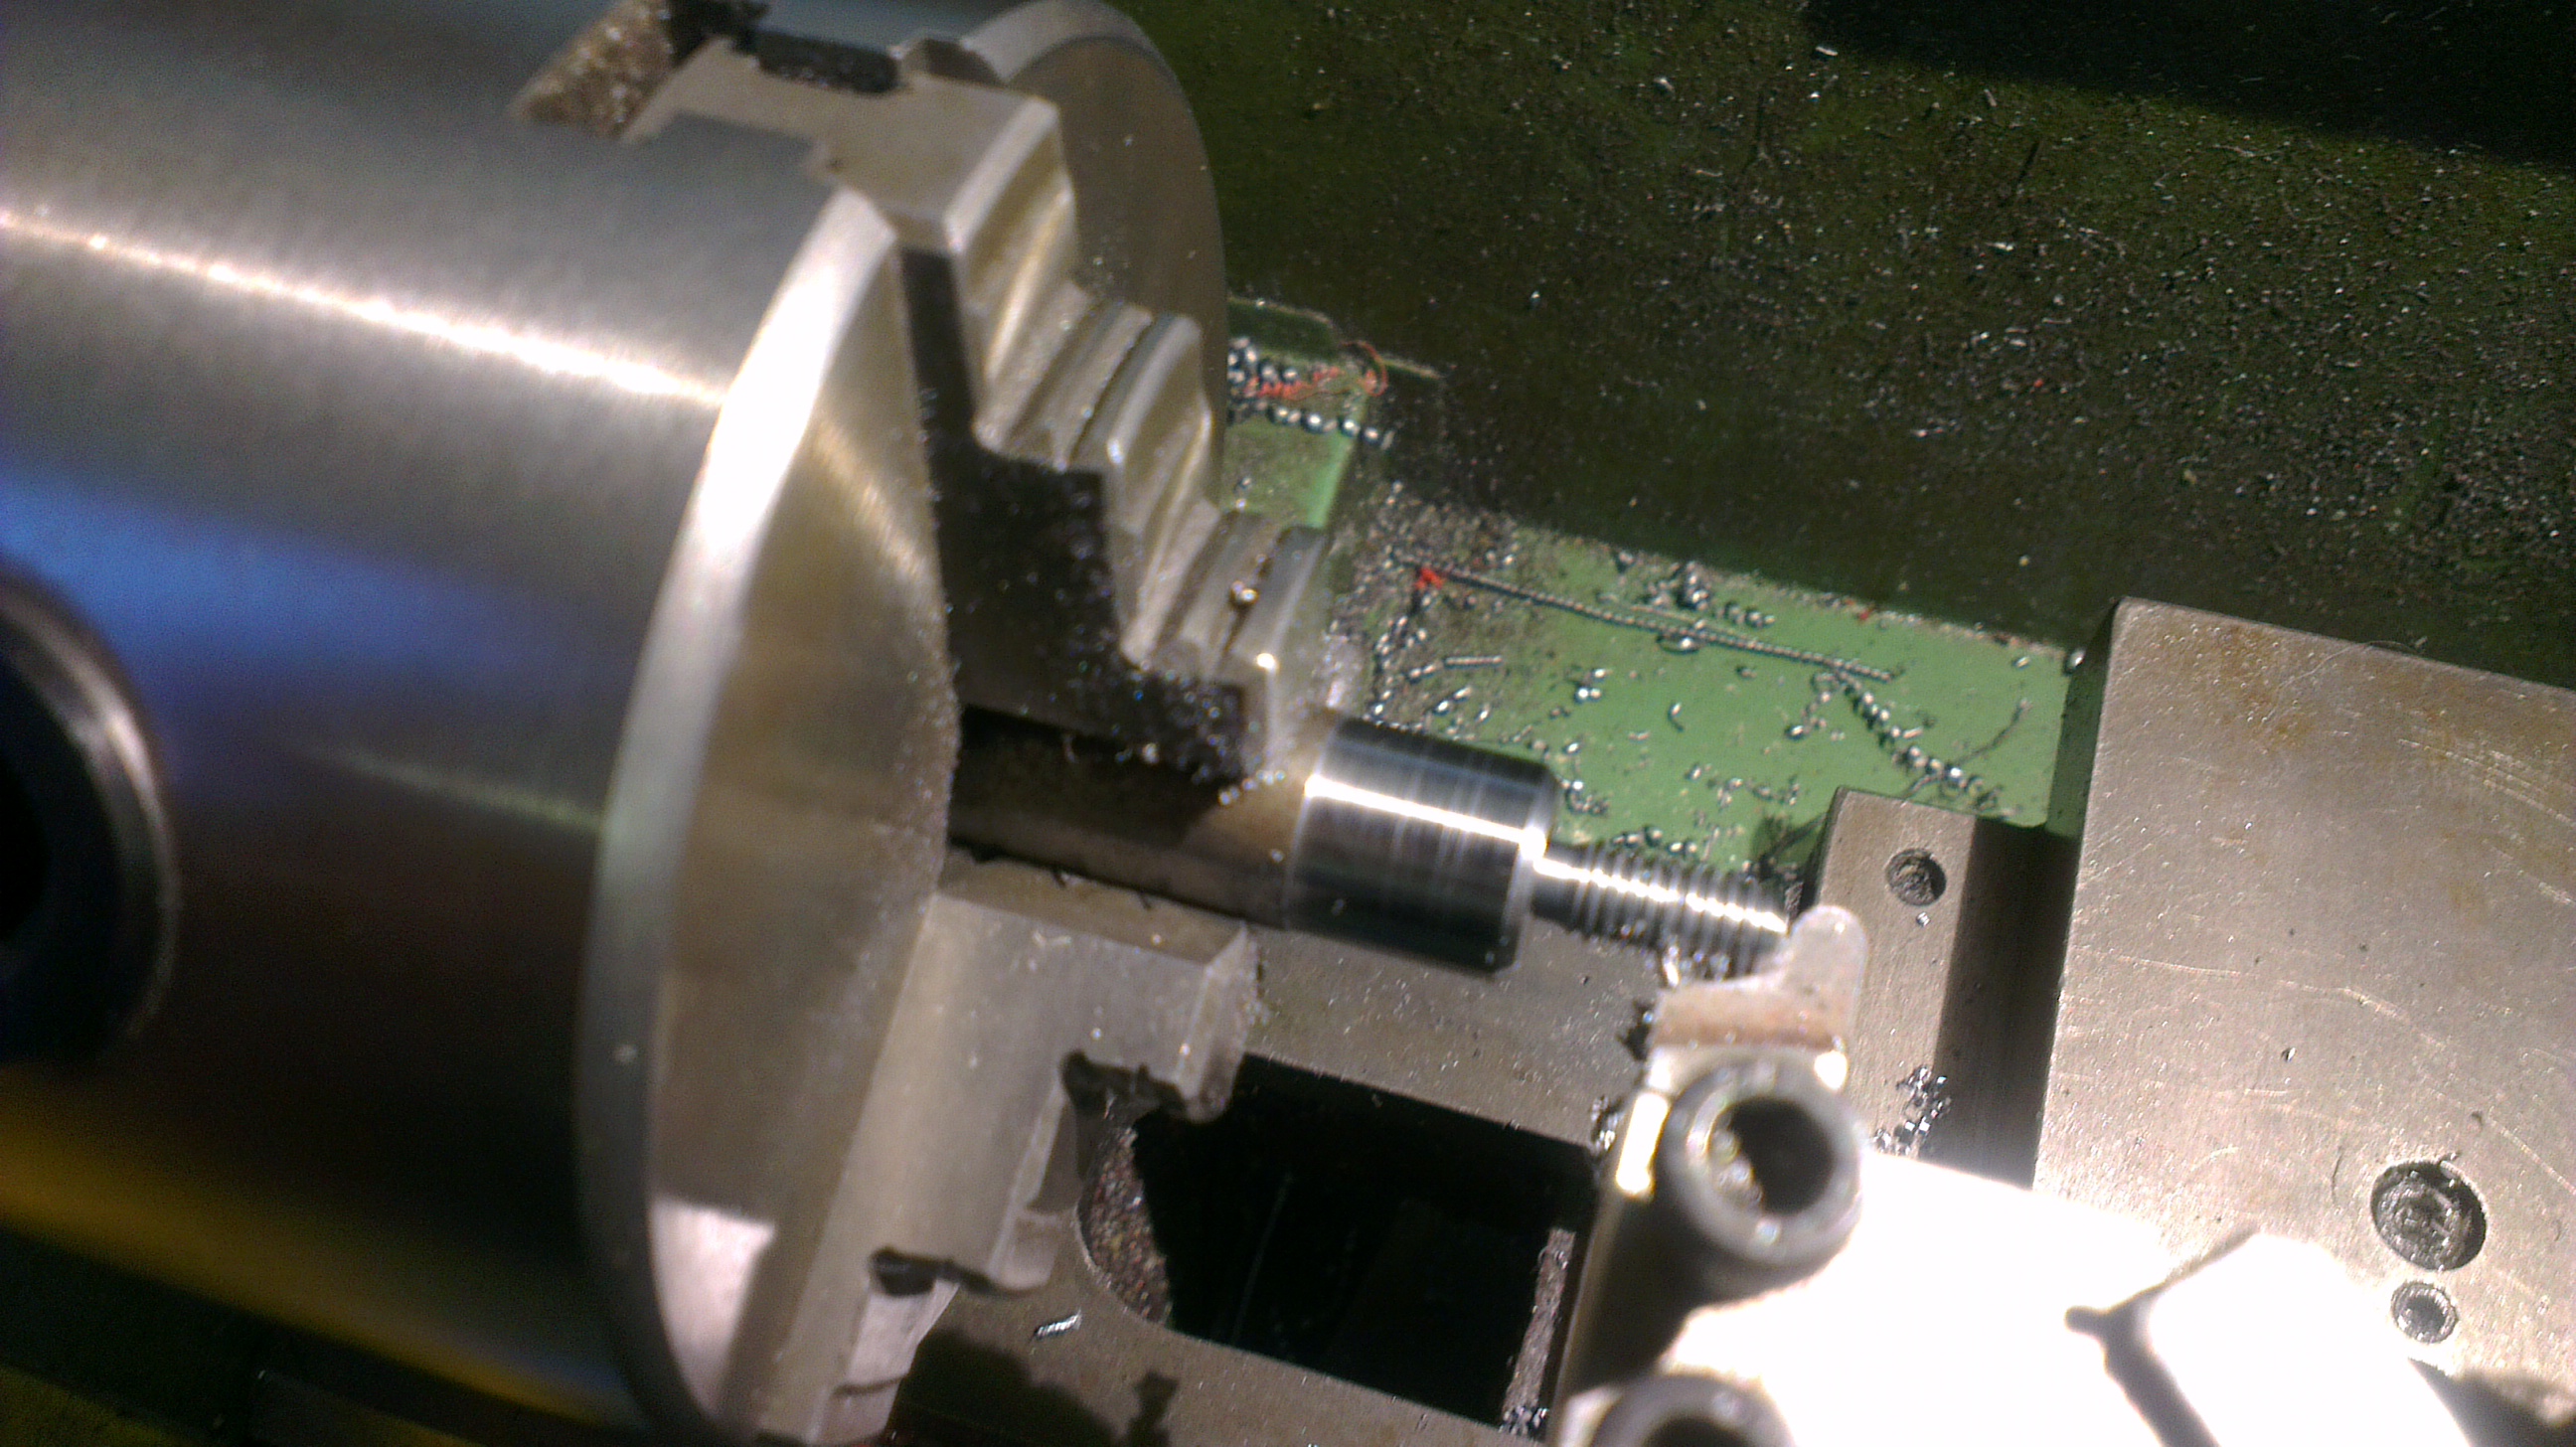
Gently gripping the threads cut a chamfer on the head of the screw. I know it’s not the done thing to grip threads but hey! be gentle and wrap a piece of paper around the threads for protection and everything will be fine!
Centre the dividing head on the milling table by gripping a round bar in both the dividing head chuck an milling table drill chuck. This will give you a zero datum on the X and Y axis to help in the next machining operation.
After securely clamping the dividing head onto the table, zero your table dials
Now you know where the centre is, traverse the table half the screw head diameter, this will position the centre of your milling cutter to the edge of the screw, now traverse the table half the diameter of your milling cutter (I chose a nice sharp 5mm two fluted slot mill) now you have found the edge of the screw head. Traverse the table about 60 thou into the screw head to start the milling. Keep the settings and table locked then we will repeat this milling process 12 times by rotating the dividing head without moving the table.
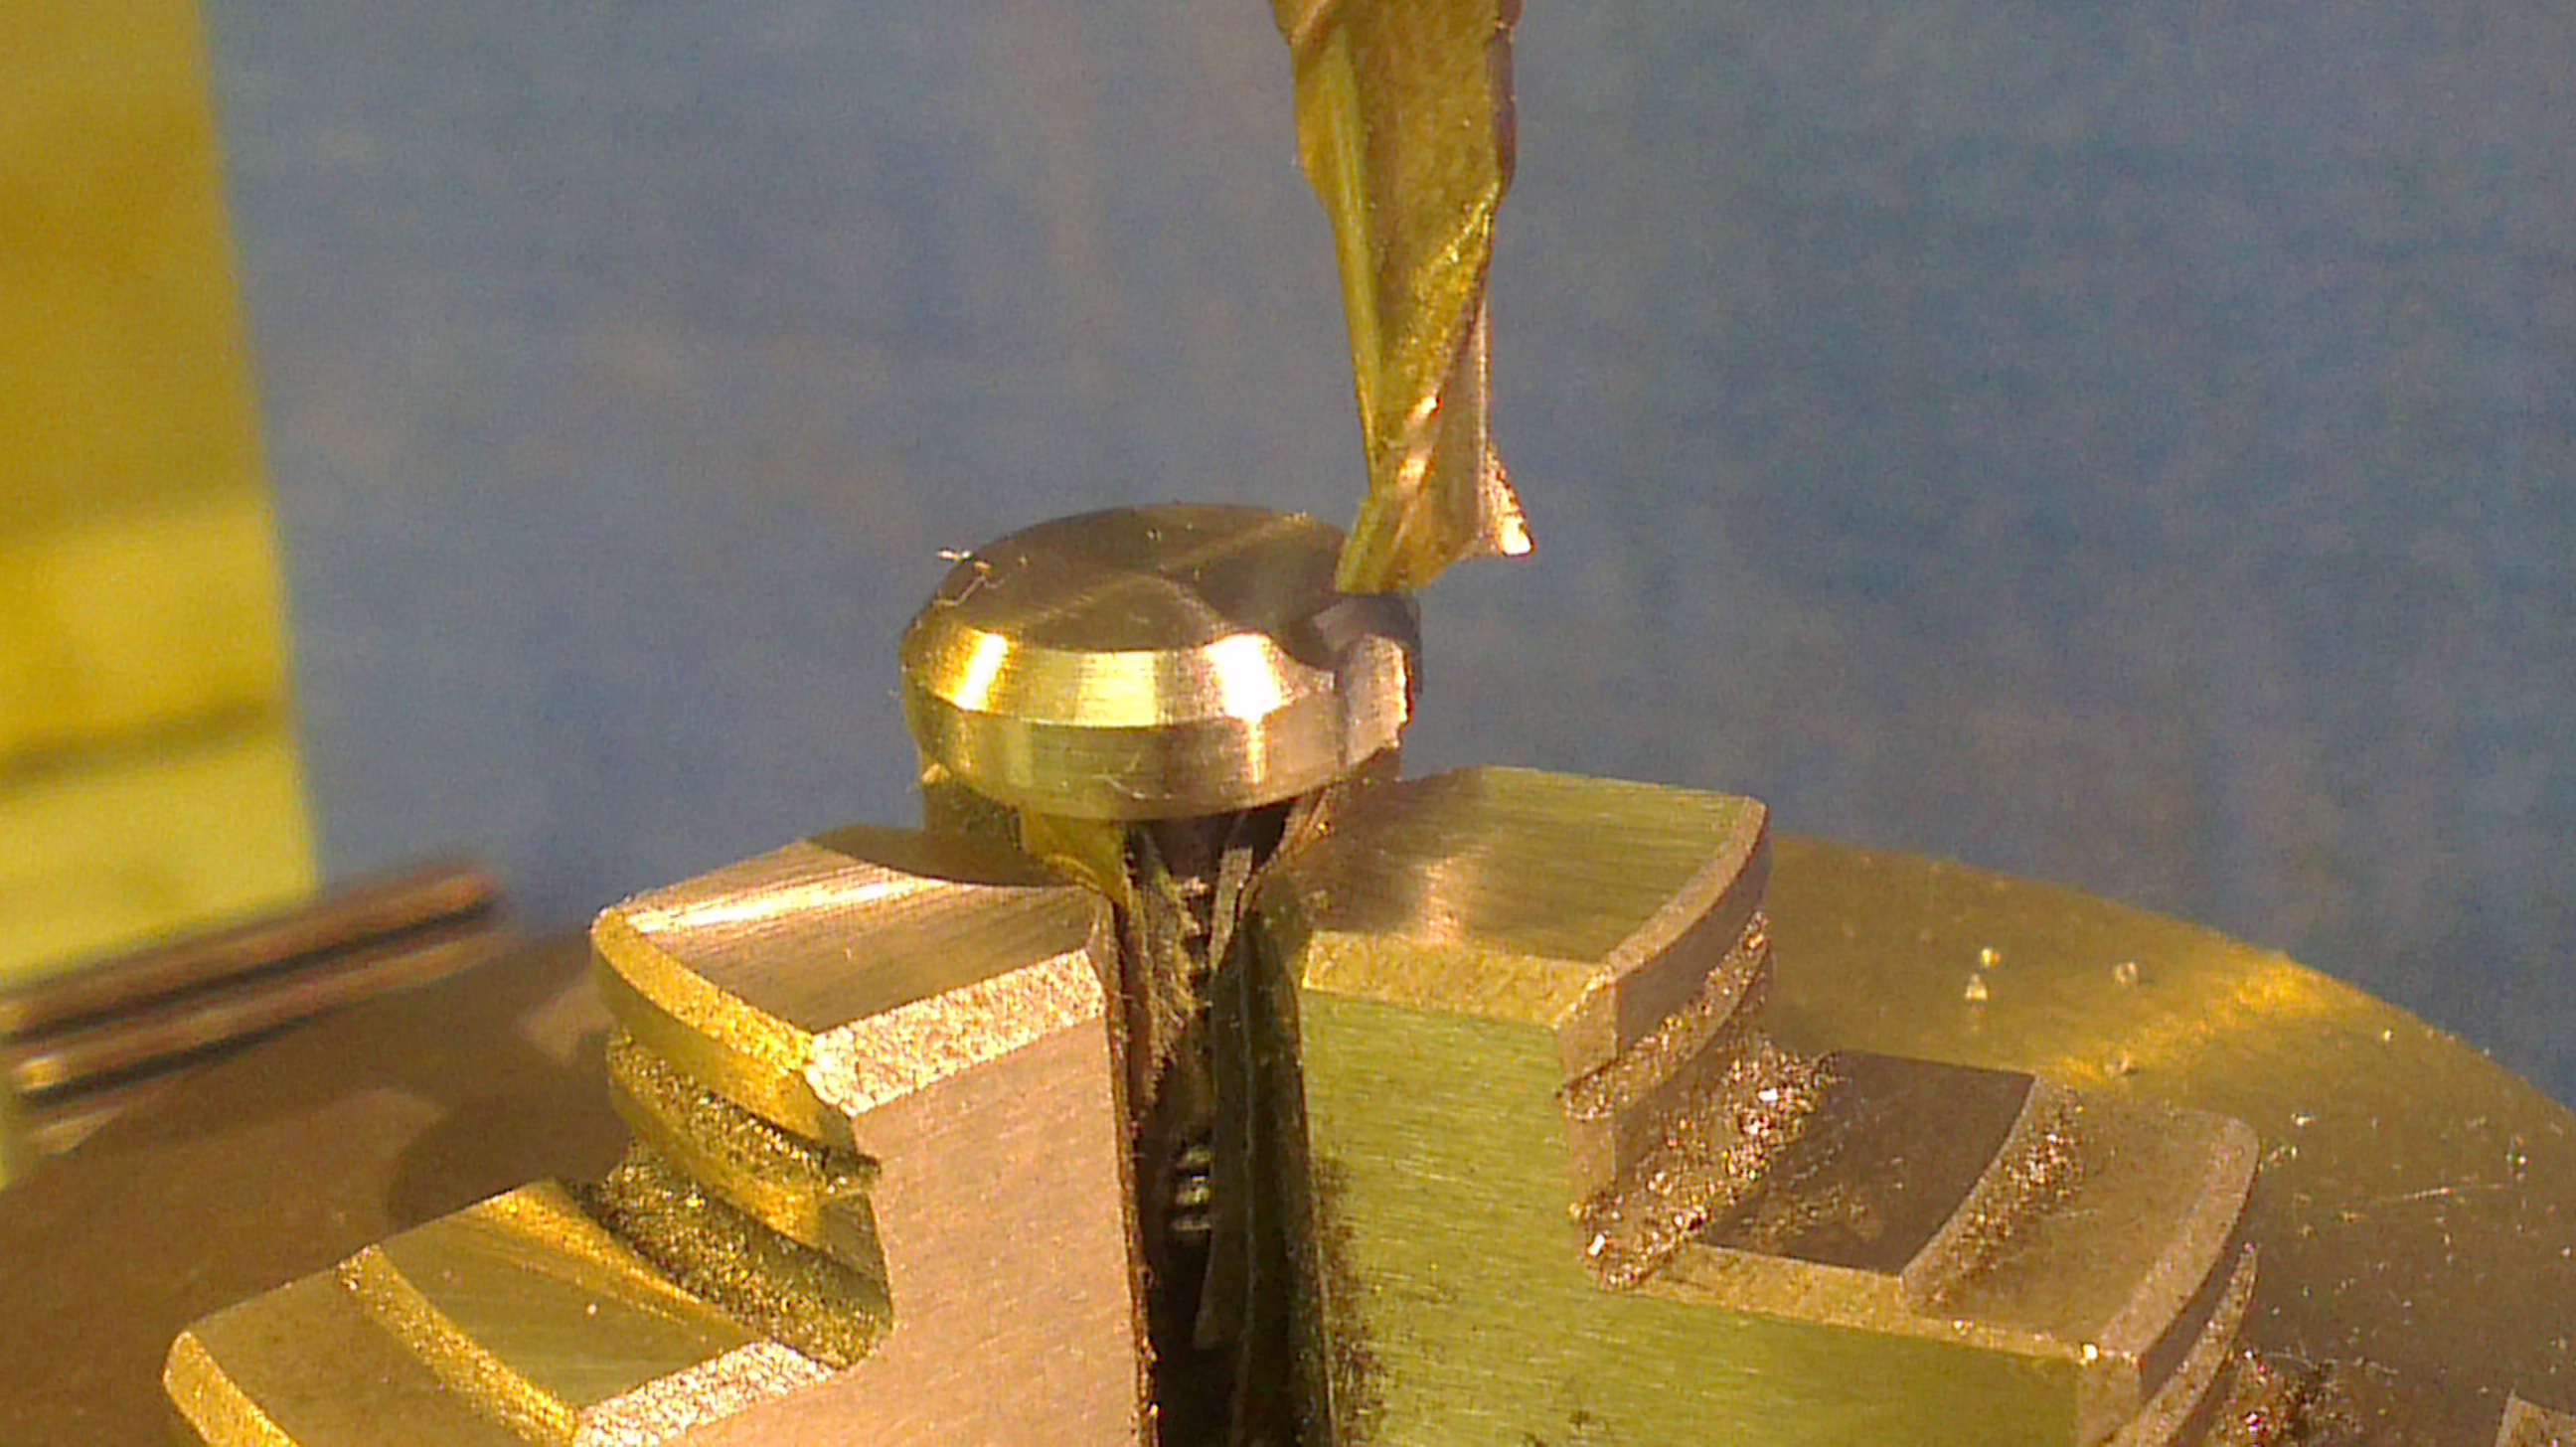
By moving the milling down into the screw head it will cut a curved notch into the head, now repeat the process by rotating the dividing head 30 deg each cut.
Repeat the process at 30 deg intervals this will give 12 cuts. The two side clamps work well and give good firm support because they are clamping over a large circumference and area. The clamp screws are 6mm thread, a quick half turn is enough to slacken them off. I put a small spring under the clamp to allow the pressure to be relieved easily and quickly. Works a treat!
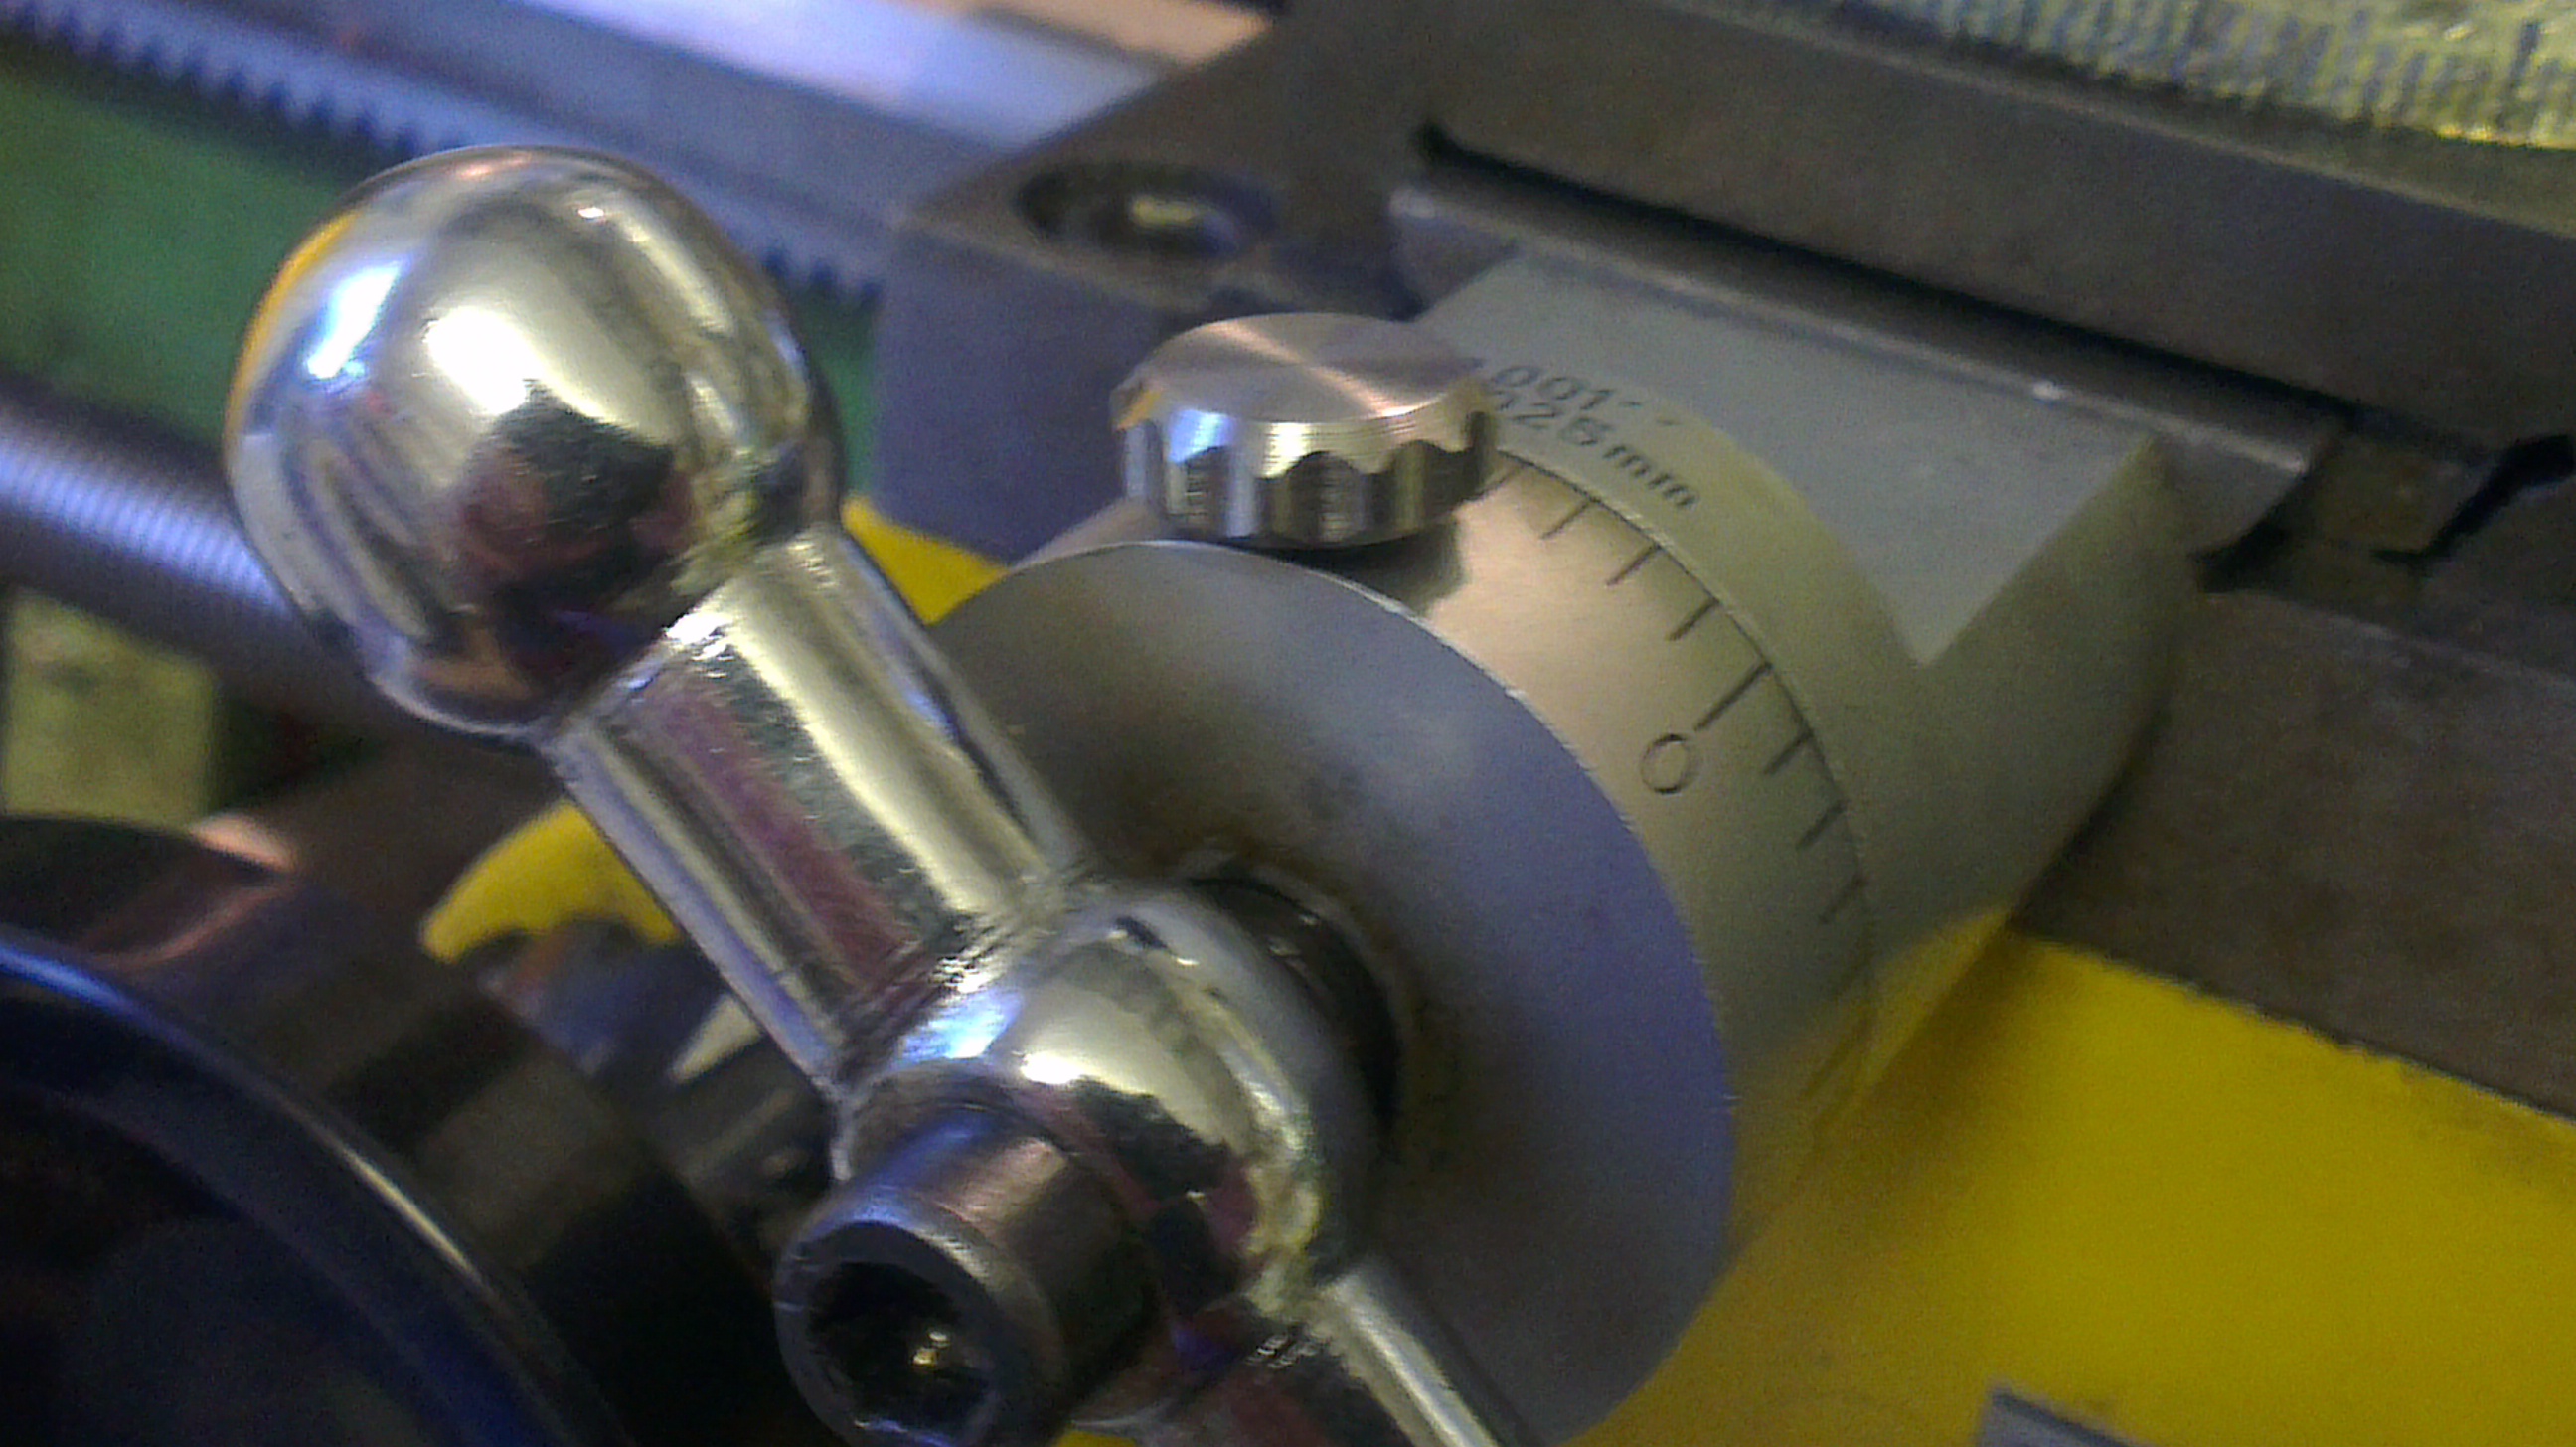
When it’s done it will look like this. I like this method of producing thumb screws and such like, it gives a much better grip than a knurl and also looks good.
The screw fitted, it works well and locks up the dial efficiently. I maybe could have made it with a smaller head because it does obscure some dial markings, but it’s not a big problem.
When you have finished with the dividing head, or any tools for that matter, clean it off, oil it, and put it back in it’s proper place!